While I was recently hand appliqueing a piece, I thought about how much stitching keeps you in the moment. If you aren't thinking about what you are doing right then, the next step very probably won't be what you want it to be. I guess this is true with other processes. Maybe this was evident because of the slow process of hand stitching.
Regardless of the lack of speed, hand applique and embroidery are my favorites. I was not very successful at needle turn applique (edges are turned under as you sew and not left raw) until I learned of the following method. Maybe it will be helpful for you!
I thought of sharing this while my work was in process, so you join me there...
 |
| Here is where we are starting today. I am adding the bird's eye. |
 |
| This paper cut-out is what the bird's eye will look like and where it will be placed. |
 |
| With a disappearing marker, I am tracing the reverse side of the patch that contains the bird's eye. |
 |
| See the shape? |
 |
| I had to make sure the piece covered the whole space to be sewn. Then from the back I basted it down, using large stitches with the big needle and thread. |
(not pictured, sorry)
 |
| Beginning at the top, I removed a couple of the basted stitches and start to turn the edge under. |
 |
| Using a blind applique stitch, I sewed all the way around the piece, turning as I went. Believe me, the 'perforation' makes turning so much easier! |
 |
| For this piece, I am embroidering heavily on top of the applique attempting to simulate feathers. |
 |
| This is the picture I am sewing from. It's a Pekin robin. In about a week, I will post a picture of finished piece (after I have mailed it to my swap partner! ;) |
I hope this method will help you. If you know the shape of your object (or using a temporary marker, can draw it on the front of your fabric, you can work this method from the front of the fabric. As I have mentioned, the main bonus is breaking the fabric with the stitched basting line.
-----------------------------------------------------------------
How did I do in the contest??
Thanks to everyone that voted me in last week’s
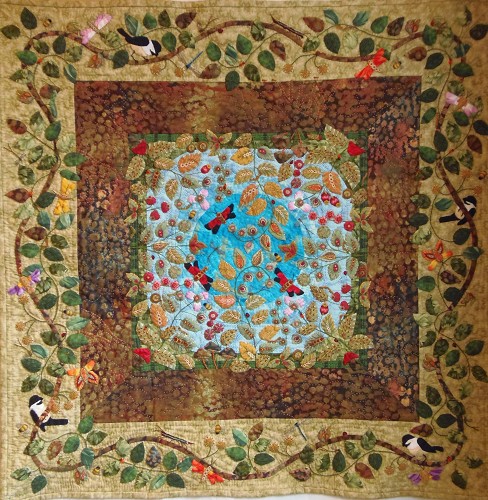
Appliqué Quilts event. The guest judge awarded 25 bonus points to Virgo Mermaid, On the Rocks, Flutterbyes and Flora & Fauna. The site owner awarded 50 points to My Grandmother's Rose of Sharon, 30 points to Africa and 20 points to Trains, Planes and Bicycles. Flora & Fauna by Karen H. was still strides ahead, so it won. I thought by virtue of detail, it should win.
>Even though we didn't win, thanks for your support. It meant a lot!


your bird is amazing!
ReplyDeleteThanks, Carrie! I think I may love applique as much as you... I'm just not as practiced or good at it. ;)
DeleteTeri, just in general I think you are pretty freaking spectacular, but that bird is OUT OF THIS WORLD!! You my friend are so seriously talented...
ReplyDeleteHaha! Thank's Katy. I'd be okay if this was all I had to do... evah! :D
Delete